Last updated on January 6th, 2026 at 11:22 am
3D printing has taken great leaps forward in the last decade, with one of the most significant being the ability to 3D print at home. Home users make up the majority of the sales of new 3D printers in 2026, and the hobby continues to grow at an ever-increasing rate.
One of the main issues though, faced by home users is how to correctly calibrate their 3D printer. This can lead to frustration, wasted time and materials and even complete abandonment of the hobby before it’s started.
In this article, I’m going to show you the best way to calibrate your 3D printer to get the best results and the best prints that you can achieve.
It’s worth noting at this point that we are mainly looking at FDM (Fused Deposition Modelling) printers as they need more setup and calibration. We will however be briefly looking at SLA (Stereolithography) or resin printers at the end of the article.
3D Printer Calibration Guide
Let’s start off by looking at the main setup of your FDM 3D printer.
Printer Setup
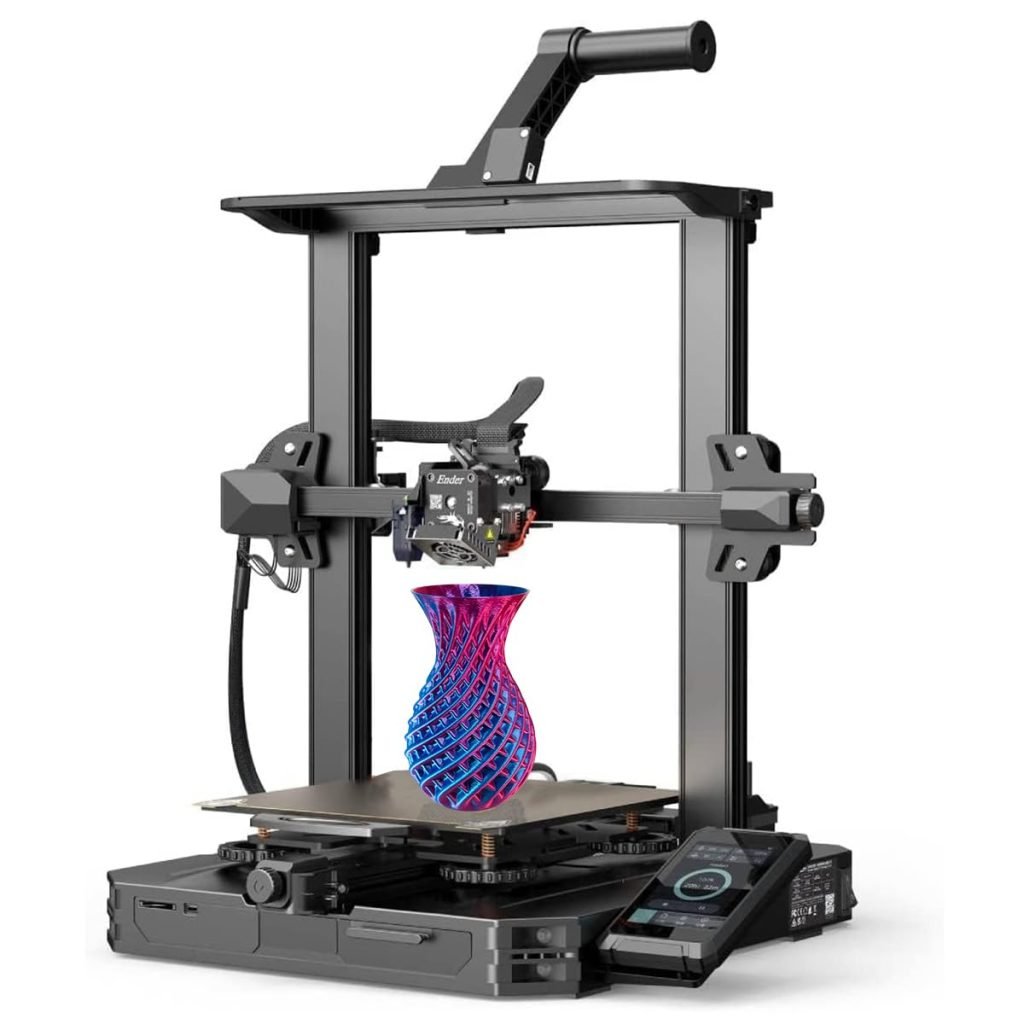
As you can imagine, it would be virtually impossible to give a one-stop guide to setting up every different printer currently on the market. I’ll therefore just give a broad overview of a standard FDM 3D printer such as the ever present Creality Ender 3.
Most FDM printers like the Ender 3 these days come partly assembled, but it’s usually just a case of constructing the x-axis gantry, positioning the control panel and adding on the filament spool holder.
You’ll also need to connect up all the essential wiring to things like the drive and stepper motors and then it’s just a case of turning the printer on and making sure everything looks functional.
The firmware and operating system should be up to date but just check online to see if your printer has the latest software installed.
Steps to caliberate an FDM 3D printer
Again, it’s impossible to give specifics for each printer in such a short article but there are key things that you need to do and adjust to get your printer working at its best.
Let’s go through these one by one and look at best practices for each setting.
1. Bed Levelling
You’ll hear this a lot as you go through the 3D printing journey but it is by far the most commonly occurring issue among FDM 3D printer users.
The bed in question is the print bed onto which the filament is deposited. If this isn’t level, then it’s unlikely that the filament will stick properly, and therefore the print will fail before it has started.
There are a couple of ways that you can do this but just a warning not to be fooled into thinking that if you have an Auto Bed Levelling (ABL) system it’s all done for you.
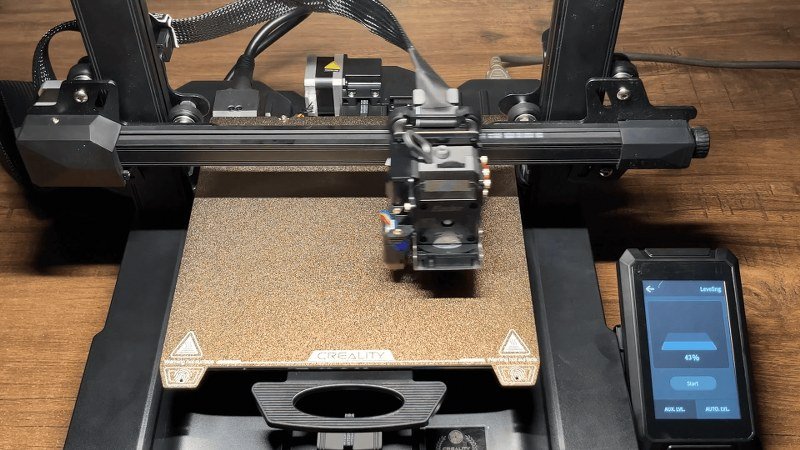
If you have an ABL such as a BL Touch on your printer, then that’s great, but all that will do is detect any unlevel areas of the bed while printing and adjust the nozzle to compensate. This of course is a good thing but doesn’t mean that your bed is level.
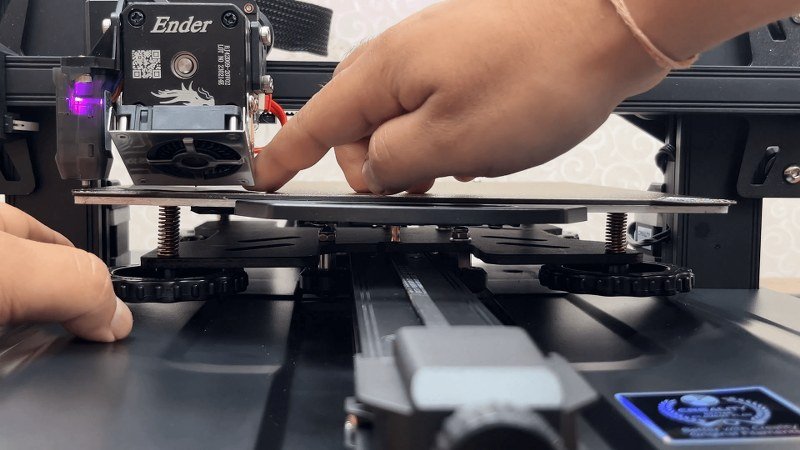
I would therefore always advise you to manually level the bed, particularly for first use but also on a fairly regular basis going forward. The way to do this might seem pretty low-tech, but it works and there hasn’t been a better method yet to surpass it.
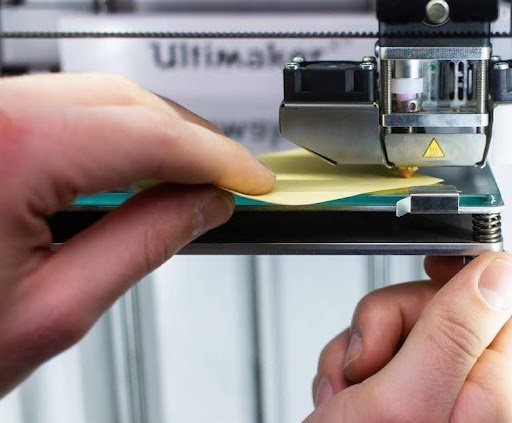
You’ll see that the bed should have a hand adjustable knob at each corner underneath. The way to level it manually is to first get a piece of normal paper like you’d have in your office printer. You then need to auto-home the nozzle so that it’s in the bottom left corner of the bed.
It may take you to the center of the bed if your printer is set up that way, but you can manually move the nozzle using the control panel. Place the piece of paper between the nozzle and the bed (both need to be heated to working temperature first) and then see if there is a slight resistance when you move the paper between the two heated parts.
Use the knob at that corner to adjust the bed until you do feel the resistance and then move the nozzle (using the controller) to the bottom right, top right and top left corners in order. Repeat the process at each corner and then your bed should be nice and level.
You may though find that when you auto-home again, there is a bit of a gap between the nozzle and the nozzle and the bed. This can be adjusted by changing the “Z-Offset” figure via the controls. This moves the nozzle either up or down in 0.01mm increments to make sure that the distance is as accurate as possible.
If you are a beginner, you can read our detailed bed leveling guide.
2. E-Steps
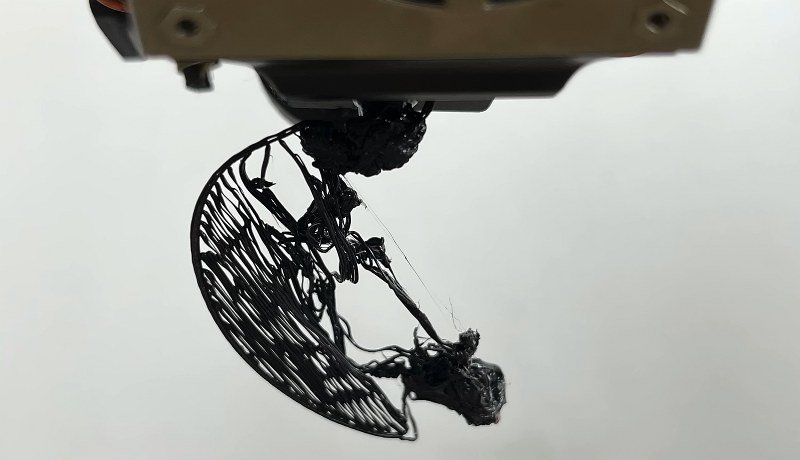
The E-Step determines the amount of filament that is fed through by the extruder to the nozzle. If this setting isn’t calibrated correctly, then you’ll either have over or under-extrusion, both of which will cause major quality issues with your prints.
E-Step calibration is another manually performed task which again might seem a little low-tech. Once you get to know how to do it though, it becomes second nature. Hopefully, you won’t need to do it very often.
Again, it’s difficult to say where to find the E-Steps figure on your particular printer, but it should be in the “Control > Motion” menu.
On an Ender 3, the default E-Step figure is 95.0mm, but older models may have it at 93.0mm. This means that for every 100mm of cold filament that goes into the extruder, 93.0mm is extruded through the hot end nozzle.
That may seem odd, but it relates to the heating of the filament and the fact that it stretches when extruded.
To see if you’re printer’s E-Steps are correctly calibrated, you need to extrude 100mm of filament and see how much is actually extruded. To do this, follow these steps:
- Measure your filament from as close to where it disappears into the extruder as possible to a point at 100mm. You’ll then need to make a mark with a permanent marker and also marks at 10mm on either side of the 100mm point.
- Heat the nozzle to the correct working temperature for your filament. For ease, I’d suggest using PLA and therefore heat it to 200ºC. Go to the settings on your controller and set the extruder to feed in 100mm of filament.
- Wait until this process has finished and then look at the marks on your filament. If it’s just visible and you can still see the 90mm nark then your E-Steps are fine. If not and there is either more or less of the 100mm extruded, then you’ll need to do some calculations.
- Let’s say that the extruder only loaded 88mm of filament so is in fact under extruding. The formula you need to use to calculate the new E-Step is as follows:
The expected amount of extruded filament (100mm) X The current E-Steps (95.00mm)
The actual extruded amount (88.0mm)
This then gives you the new E-Step figure of 107.95, which you now need to enter into the printer settings.
You can do this on the Ender 3 by going into the E-Steps setting by the same route as before but one thing to note is that if you turn off the printer, it might not save the setting. Therefor,e you need to check what the setting is the next time you turn the printer on.
The calculation is the same for over extrusion but will obviously give you a different figure.
So, that’s the main two elements of calibrating an FDM 3D printer, but there are a few other things you need to check before you go ahead and print.
3. Tighten all the screws

Go around your printer and make sure that everything is fixed where it should be and that all the screws and fixings are nice and tight.
4. Tighten the belts
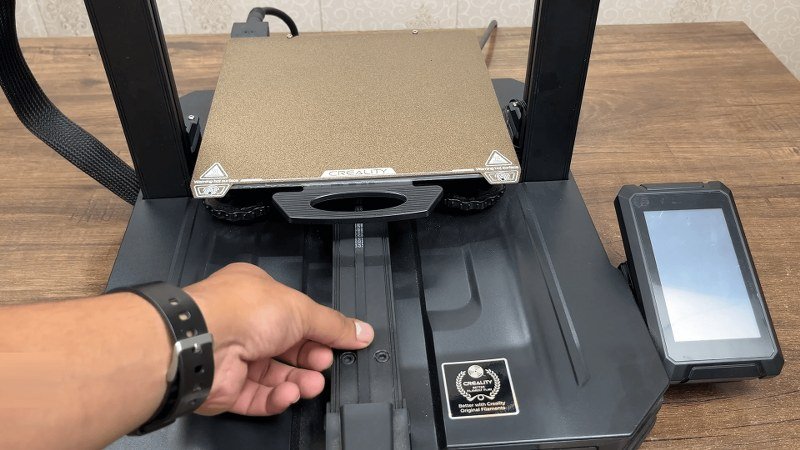
Make sure that the timing belts on both the z-axis and the y-axis are tight but be careful not to over tighten them and allow smooth movement of the axis.
5. Adjust the eccentric nuts
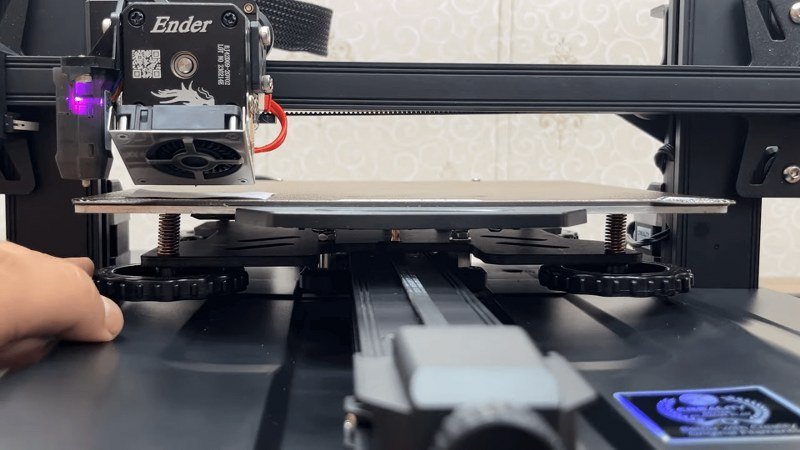
The eccentric nuts are part of the wheels that move the z and y axis along their tracks. If these are loose then you’ll get wobble when they move and your prints will be uneven.
That then is pretty much it for the initial calibration of your FDM 3D printer. Any other print settings will be adjusted in the slicer program that you use to set up your prints but that’s for another day.
Let’s finally though take a brief look at the calibration you need to do to set up an SLA printer.
SLA Printer Set Up and Calibration
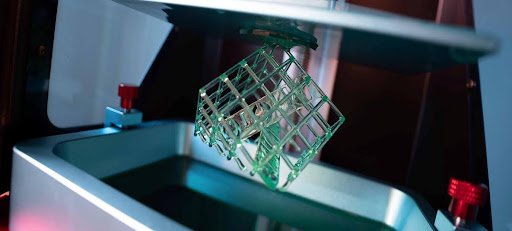
For calibrating an SLA printer, there’s not much you need to do apart from finding a secure and level platform on which to place it. You may then need to attach the resin vat and ensure that the FEP film is tight and has no marks or tears.
The second step is to attach the print bed, but as this will only be going up and down on the z-axis, there isn’t much to this. However, you will still need to level the bed, and this should be done using a piece of paper as well!
Remove the resin vat and put a suitably sized piece of paper in its place. This time, however, the paper is not so much for leveling as it is to protect the glass lens of the printer.
Slowly lower the build plate down so that it’s just touching the paper and then adjust the thumb turn knobs on each side so that it’s level with the lens. Your build plate is now level and that’s all you need to calibrate on an SLA printer.
Conclusion
The setup and calibration of a 3D printer are pretty straightforward and rely quite a bit on common sense. As long as you ensure that everything is connected correctly and tightly fitted where appropriate, you shouldn’t have any issues with the general operation of the printer.
The calibration side of things is fairly easy as long as you follow the steps listed above. Once your printer is fully calibrated, you should achieve good print results and hopefully enjoy your 3D printing experience.