I recently got my hands on the KAIWEETS Smart Multimeter KM601 and I am impressed with what it has to offer.
One of the standout features of this multimeter is its Smart Mode, which automatically identifies the measurement content and selects the range with the best resolution for voltage, resistance, and continuity testing. Plus, the upgraded display with a large LCD color screen and flashlight makes it easy to read even in bright or dim places.
First, let’s look at all the features this multimeter has to offer:
- Both auto-ranging and manual mode
- True-RMS multimeter with 10000 counts
- Compact and portable (6.5 x 3 inches)
- Large LCD display of size 3 x 2 inches
- Safety rating- CATⅢ 1000V, CAT IV 600V
- Voltage measurement up to 1000V DC and 750V AC
- Current measurement up to 10A DC and AC
- Supports NCV or non contact voltage test
- Resistance measurement up to 100 Mohm
- Frequency measurement up to 10 MHz
- Can measure temperature between -40°C to 1000°C
Use this code and get an instant 15% OFF on Kaiweets KM601 multimeter– ETP15
Table of Contents
Unboxing and part list
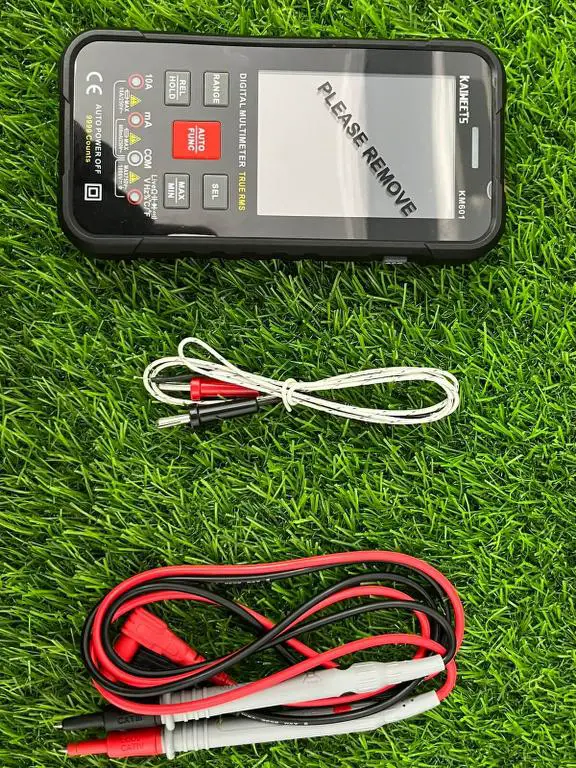
The multimeter comes in a sleek black color EVA bag. It’s easy to carry and hang using the provided strap.

Following is the complete list of parts you get inside the package:
- User manual
- Kaiweets KM601 Smart Multimeter
- Test leads
- Thermocouple
- 6 AAA batteries (was missing in my case)
Build quality and design
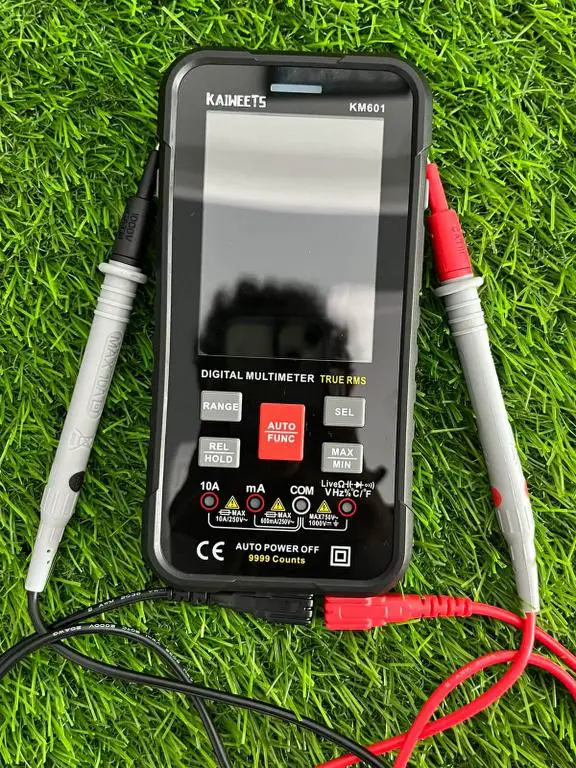
The multimeter is encased in a protective rubber case for drop and electrical shock protection. It’s sturdy and fits perfectly around the multimeter.

The overall size of the multimeter is 6.5 x 3 inches or 16.5 x 7.6 cm, slightly bigger than a smartphone.
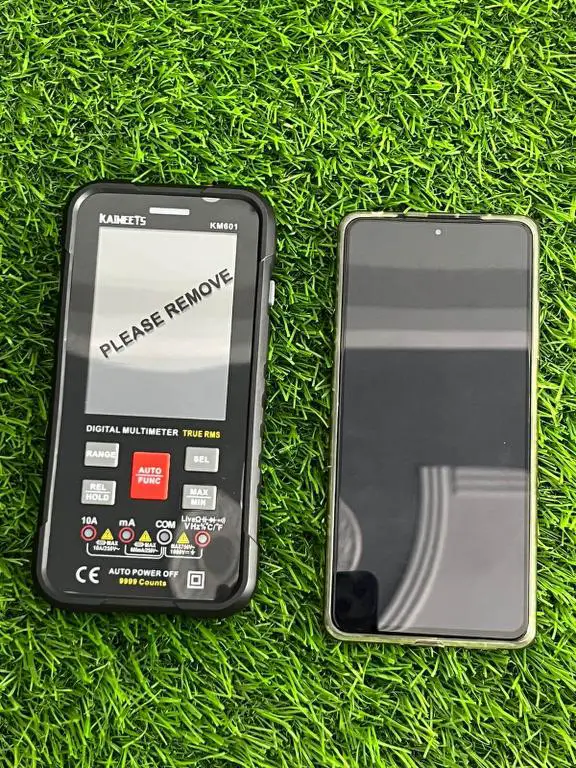
The KAIWEETS KM601 has these four major parts:
- Display
- Buttons- five in front and four on the edges.
- 4 Test terminals at the bottom edge
- 4 terminal indicators
Regarding the build quality, there’s no noticeable difference from any other digital multimeter. As for the testing probes, they look decent and are of good quality, unlike those single-color probes that come with cheap multimeters.
There is also a flashlight at the back of the multimeter. Make it easy to take measurements in dark places.
Installing the batteries
Kaiweets KM601 multimeter runs on 3 AAA batteries of 1.5V each. To install the batteries, you have to remove the protective cover first and then open the multimeter’s back compartment using a screwdriver. This is odd and different from other multimeters, as most come with a single preinstalled battery.
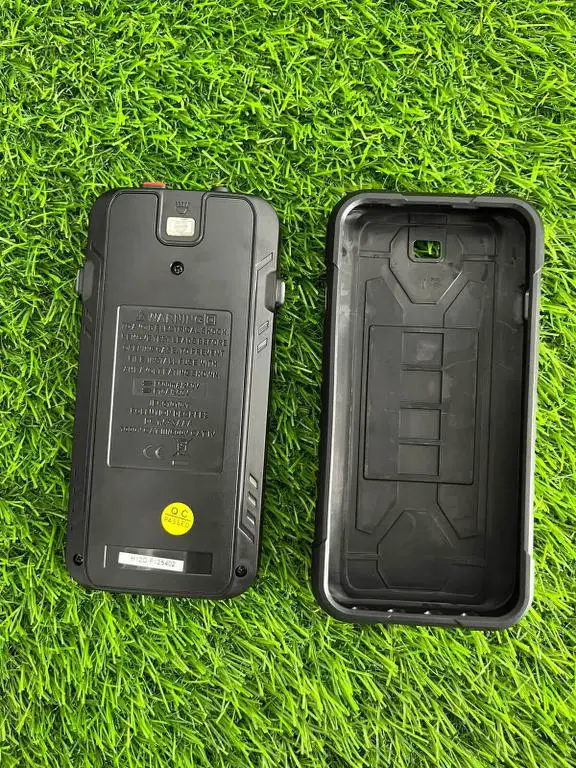
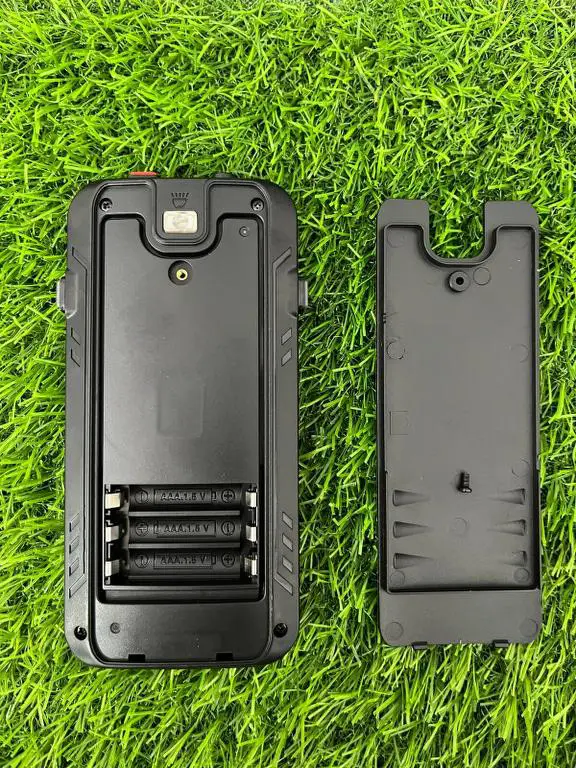
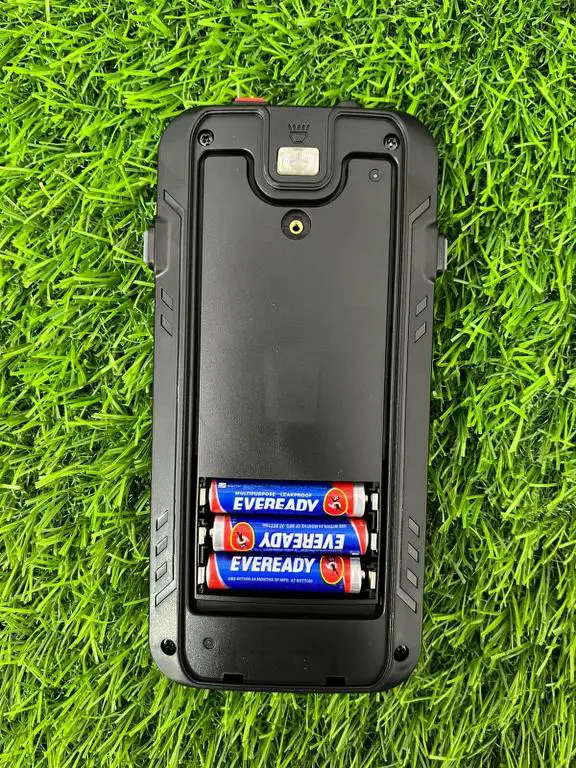
I had to purchase the batteries separately as they were missing from my kit.
After installing the batteries with proper polarity and orientation, use the screwdriver to close the compartment.
Display and Interface
The power button is given on the top edge of the multimeter along with the NCV button. When the multimeter is turned on, we are greeted with a big 3.5-inch color display that sets it apart from other multimeters in a similar price segment.
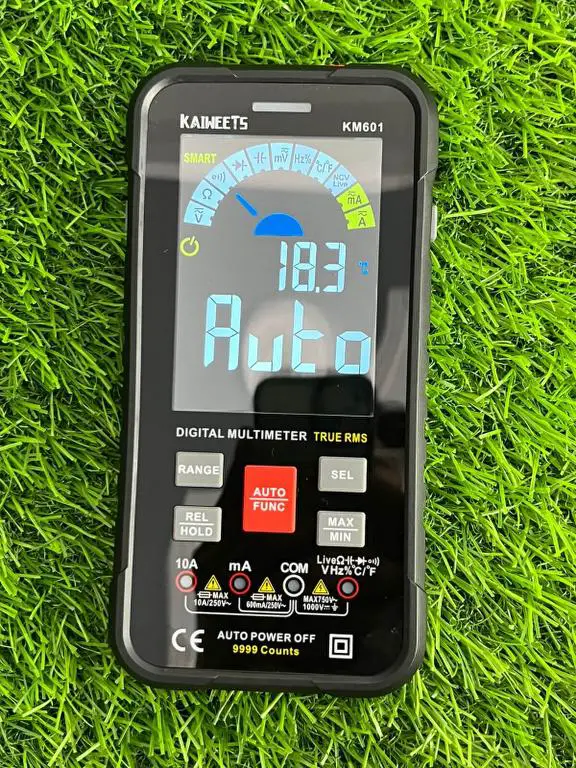
There are 11 functions to choose from, displayed one by one in a semicircle. This replicates the rotary dial of a manual digital multimeter. Just below the dial, it constantly displays the room temperature. All the measured readings are displayed at the bottom of the screen.
Just below the display, there are five control buttons:
- Auto/Function
- Range
- Rel/Hold
- Sel
- Max/Min
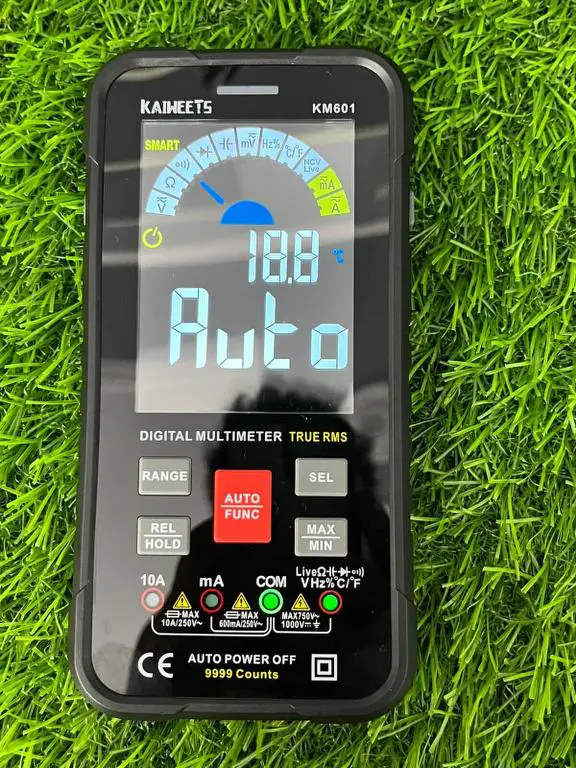
By default, the multimeter is in the smart mode displayed as “Auto” by the multimeter. In smart mode, there is no need to switch between DC/AC voltage, resistance, and continuity tests. It automatically selects the required function and range while performing the test.
If you look at the dial on the display in smart mode, the arrow keeps moving between these three functions.
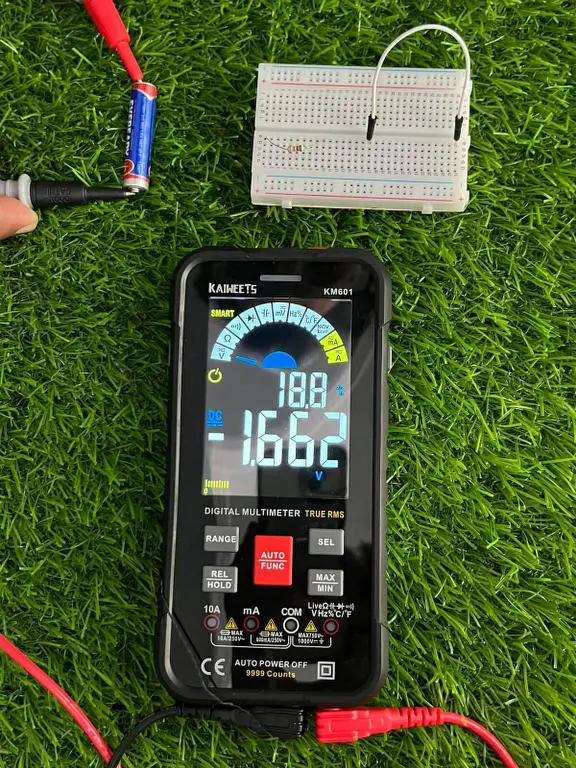
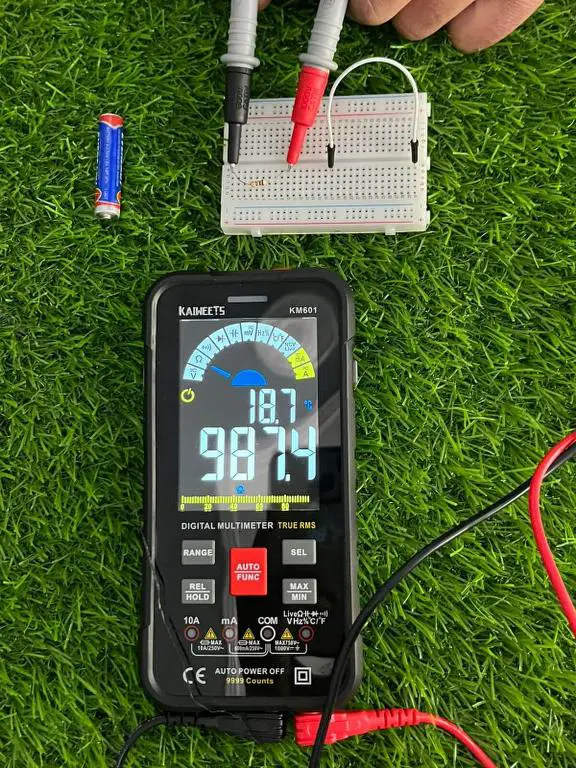
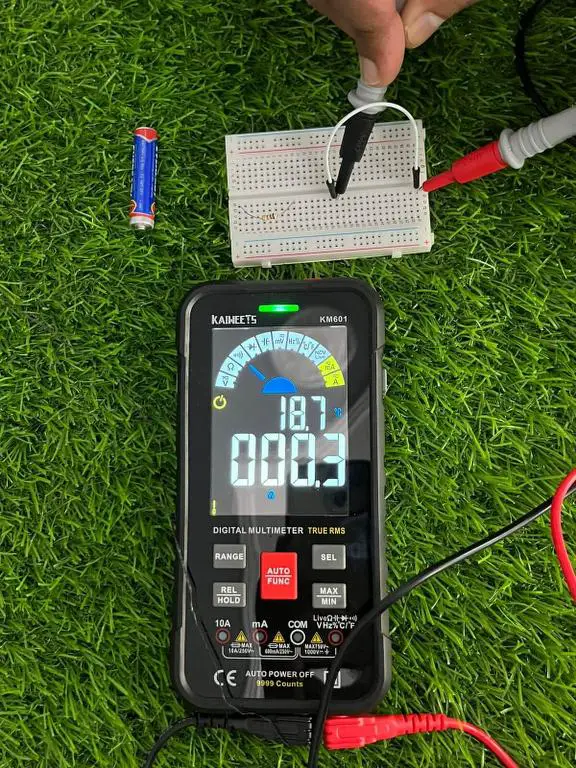
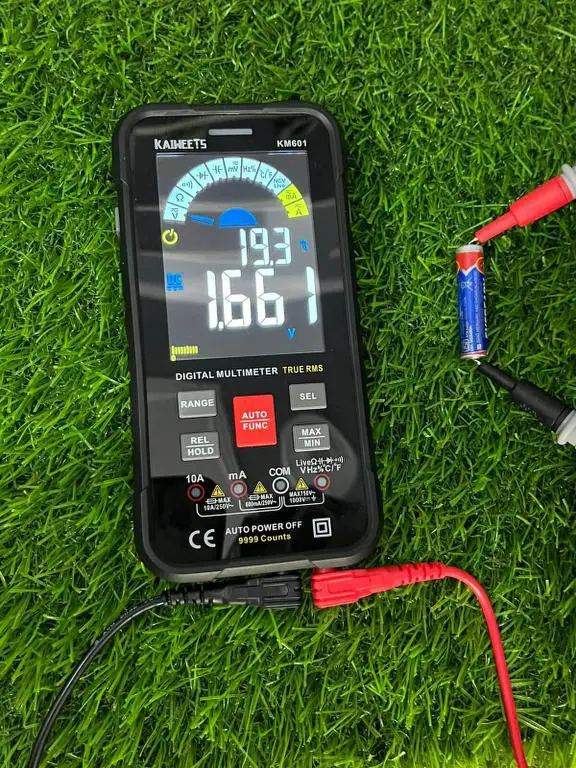
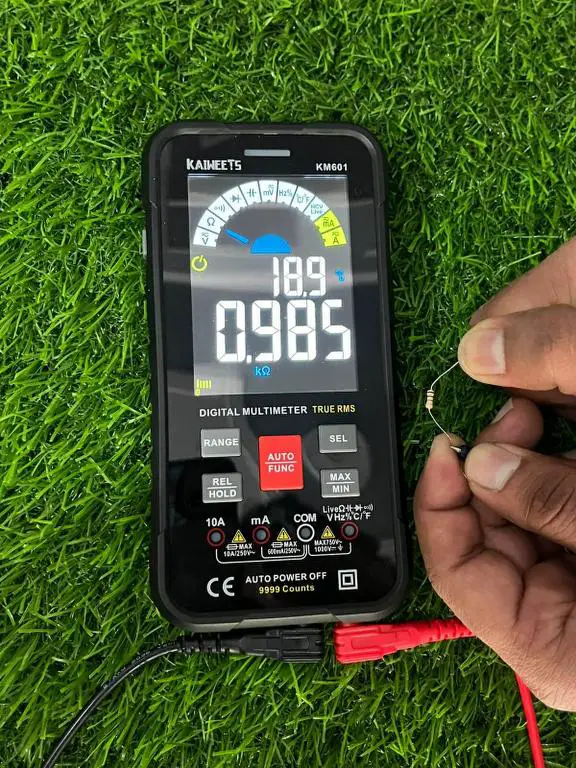
I measured the DC battery voltage, resistor value, and continuity test one by one in the smart mode. The multimeter was able to identify the test type on its own(see the test images below).
One unique feature of this Kaiweets KM601 is the terminal indicators. These indicate where to plug the test leads for a particular test. There is also a white circle around the ‘COM’ terminal indicator and a red circle around the rest of them.
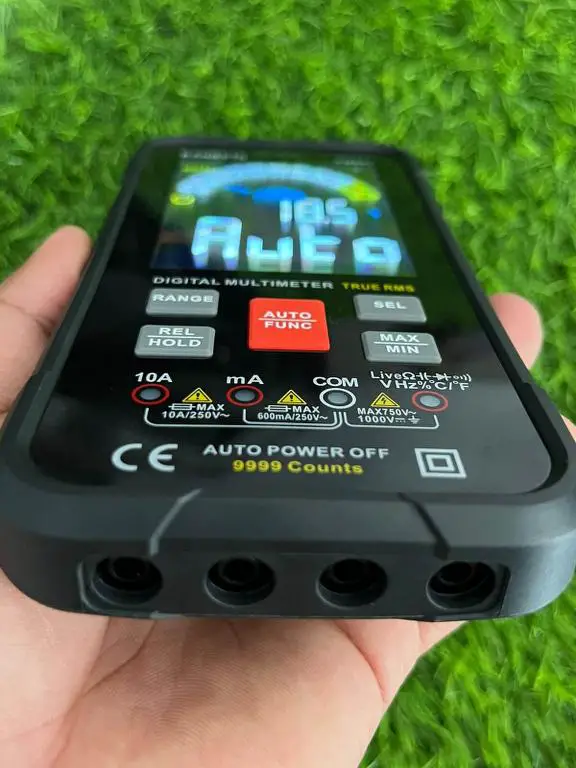
This signifies that the black test lead is only for the ‘COM’ terminal and should always be connected to it. Whereas the red test lead switches between the remaining three terminals depending on the test type.
For example, when I select the DC voltage function, the last two indicators blink.
Performance- Measuring voltage, current and more
To select the quantity to measure, push the ‘Auto/Function’ button. Let’s start with DC voltage first:
The multimeter is set to ‘Auto’ mode by default. To use the ‘manual’ mode or select the range, push the ‘Range’ button. To switch between AC and DC functions, push the ‘SEL’ button.
Note: For low voltage measurement(in the mV range), select the ‘mV’ function.
1) Measuring DC voltage
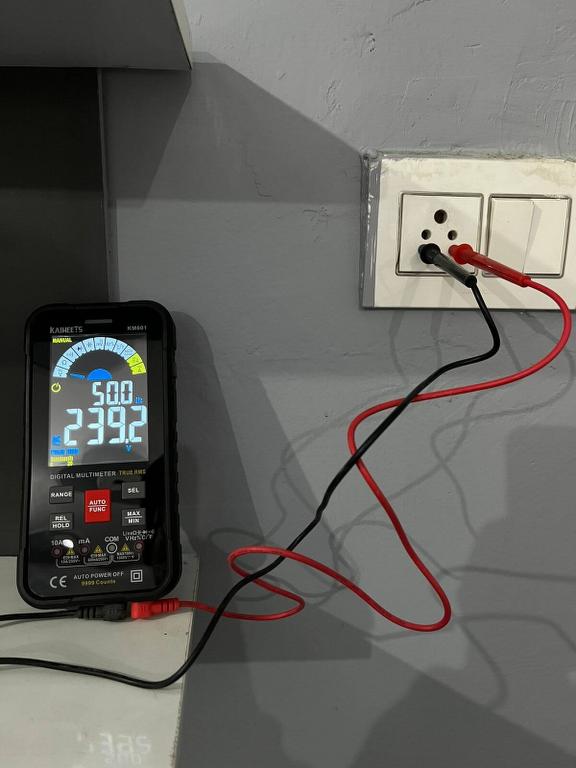
2) AC voltage
3) Resistance
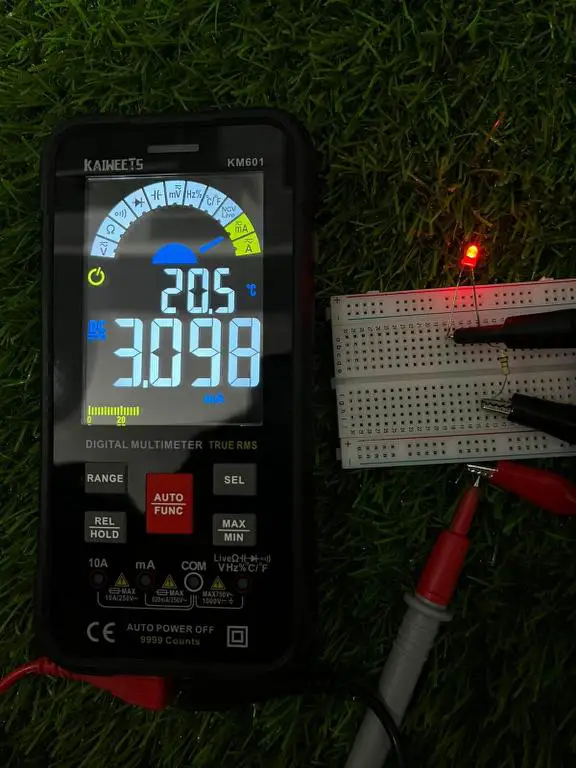
4) Current
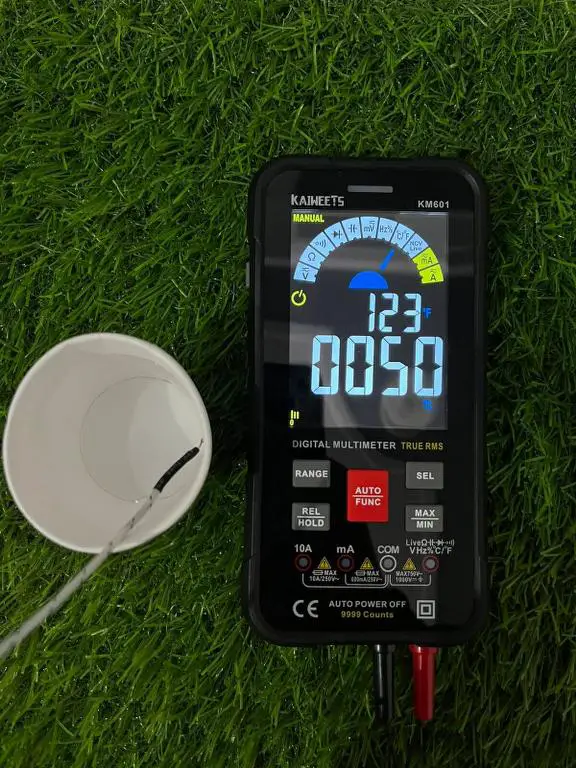
5) Temperature
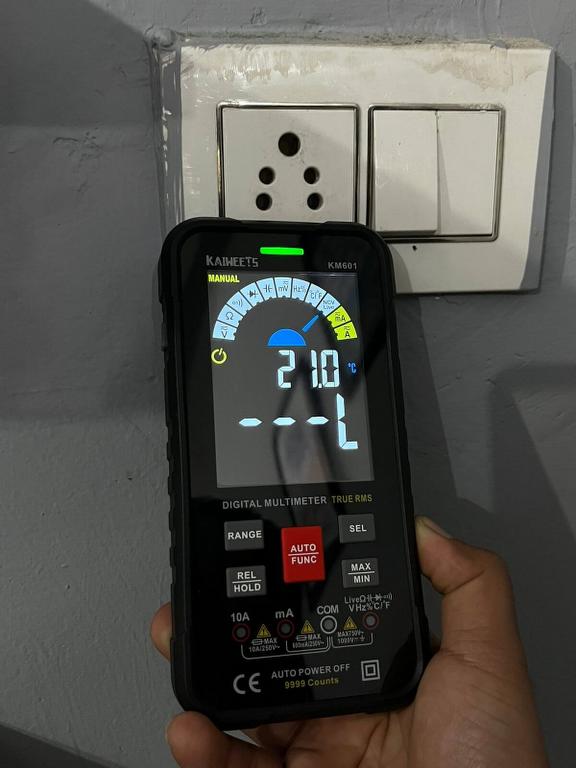
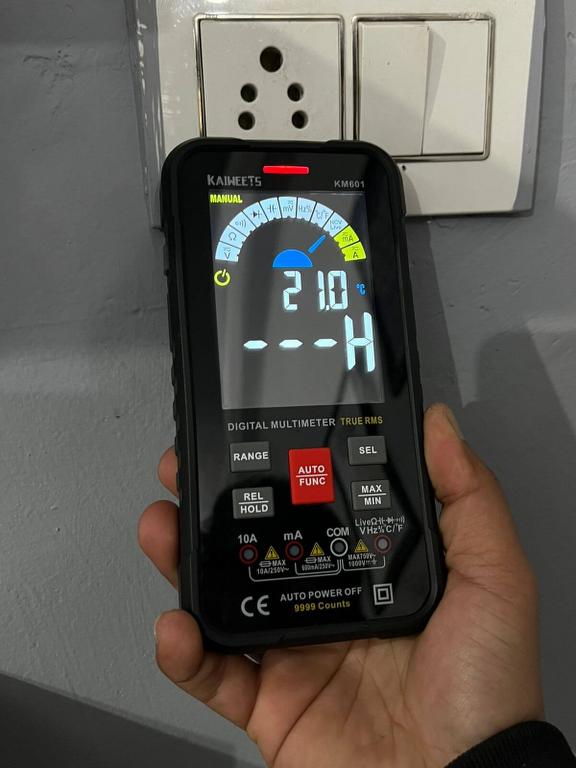
6) NCV live wire test
Safety features
- The multimeter holds certifications for CE and RoHS compliance.
- Safety rating- IEC61010-1 CAT III 1000V, CAT IV 600V for overvoltage safety, and pollution level two.
- Dual ceramic fuses are installed, providing anti-burn and overload protection.
Pros
- Value for money
- Easy to use
- Big display
- Leads are durable
Cons
- Display brightness is slightly low
- No option to change the ambient temperature reading from Celsius to Fahrenheit.
