Last updated on April 22nd, 2024 at 10:33 am
ESP32 is a series of small and fast microcontroller boards like Arduino but comes with inbuilt Wi-Fi and Bluetooth features. In the last tutorial, we discussed the basics of ESP32: its Pinout, specifications, schematic, etc.
Now it’s time to dive into the Arduino IDE-ESP32 programming tutorial. So by the end of this post, you will be able to install and program your ESP32 with Arduino IDE.
The ESP32 boards can be programmed using many different programming languages. For example, you can program your ESP32 board in C++ language(like Arduino) or MicroPython. And to make use of all of the ESP32 features Espressif has officially provided the Espressif IoT Development Framework, or ESP-IDF (tutorial link).
But since most of the users are familiar with the Arduino IDE, it is recommended for beginners. And it is the easiest way to get started in programming the ESP32 board. While this may not be the best environment to work with the ESP32, being a familiar application, the learning period is quite easy.
**Want to learn ESP32 through the traditional method? Check out our blog post on “best Esp32 books for beginners“!
Materials required
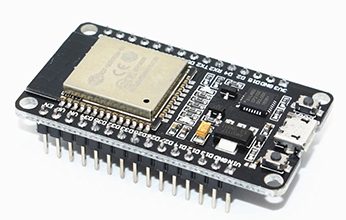
- ESP32 dev board
- Arduino IDE software installed on PC/R-PI
- Micro USB cable to upload the code to ESP32
How to install ESP32 library on Arduino IDE(Windows, Mac OS X, and Linux)
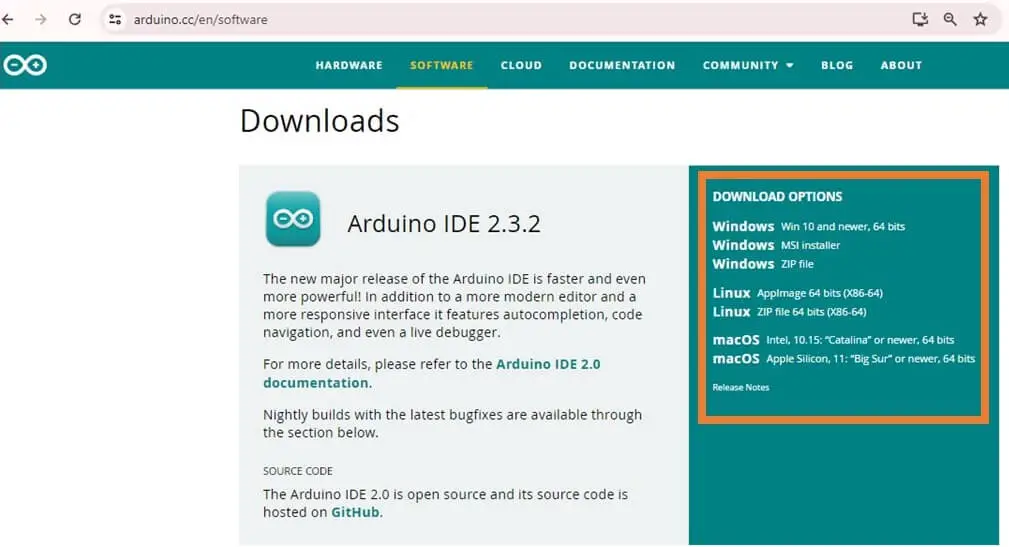
Step 1: Download the Arduino IDE from the official website of Arduino. You can download the software for Windows, Mac, and Linux 32-bit, 64-bit, Arm, and Arm64.
Step 2: Open Arduino IDE. Then go to File>Preference from the top menu
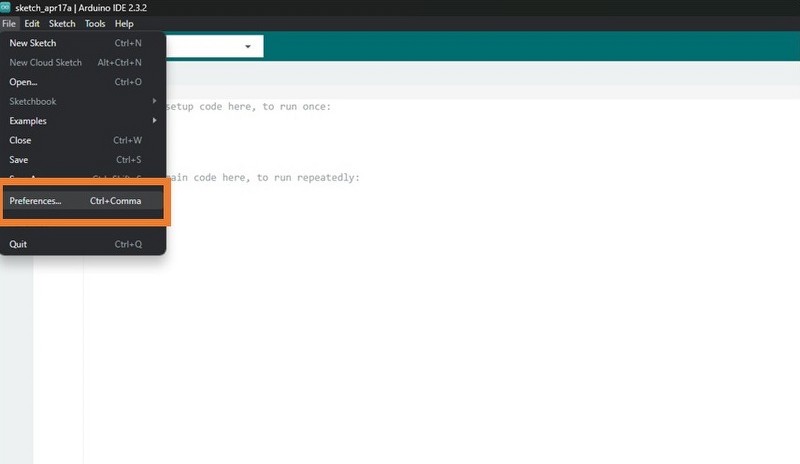
Step 3: Paste the URL: “https://dl.espressif.com/dl/package_esp32_index.json” into the “Additional Board Manager URLs” box as shown in the figure below. Then, click the “OK” button:

Note: In case there are already some links present in the Additional Board Manager URL, you can add new URLs by using a comma to separate them.
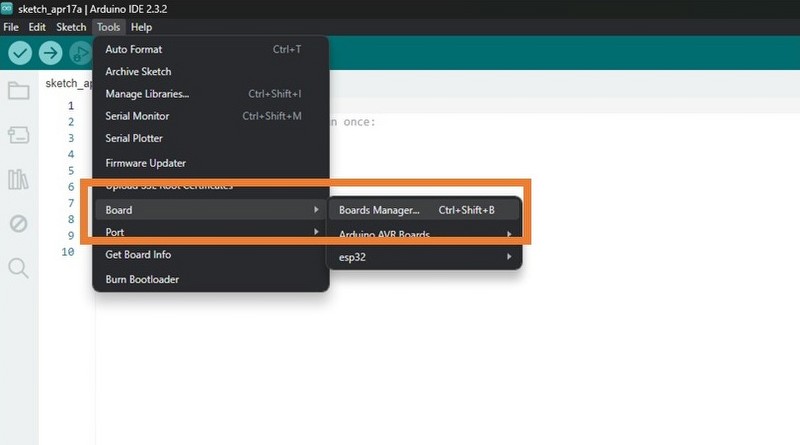
Step 4: Now open board manager from Tools>Board Menu as shown in the figure below. The board manager dialog box will appear in front of you.
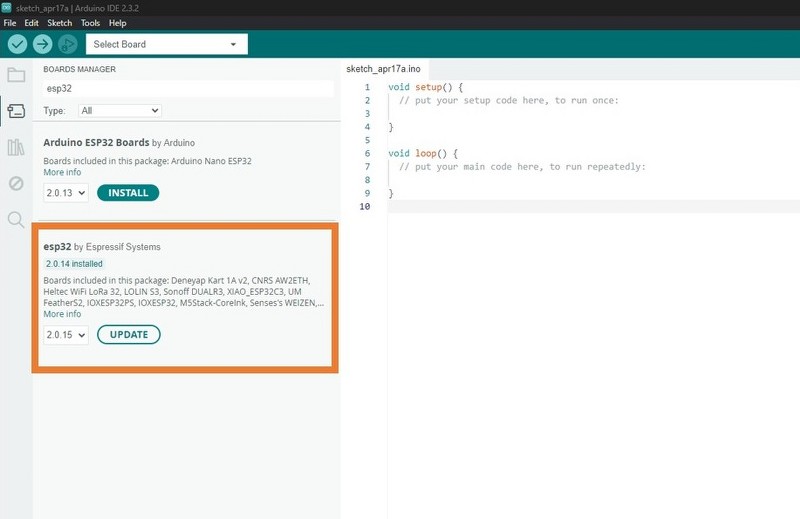
Step 5: In the board manager dialog box, click on the search bar. Then type “ESP32” and hit enter. Now select and click on the install button for “ESP32 by Espressif systems”, wait for the installation to be download and installation to be complete. Once the installation is finished, close the Board Manager dialog box.
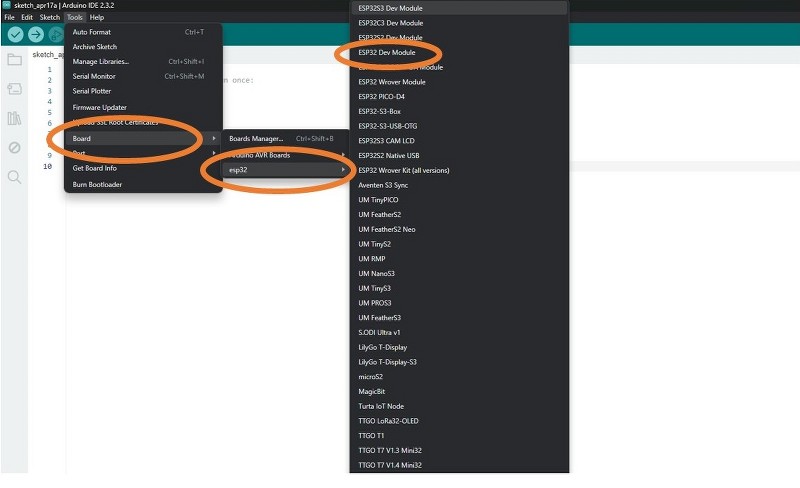
Step 6: Now after the installation, in the Tools> Board menu a new option should appear “ESP32 Arduino” as shown in the figure below. Click on this option and select the version of your ESP32 board (I have selected the ESP32 dev module from the list).
Step 7: Now after selection of the correct board version we have to select the port to which the ESP32 board is connected. So go to Tools>Port, and select the port (like COM4 as shown in the figure given below).

Note: If you don’t see any port option there, try inserting the board into another USB port. And if the issue persists, you need to install the Arduino board driver follow these steps as shown in this link.
How to program ESP32 with Arduino IDE?
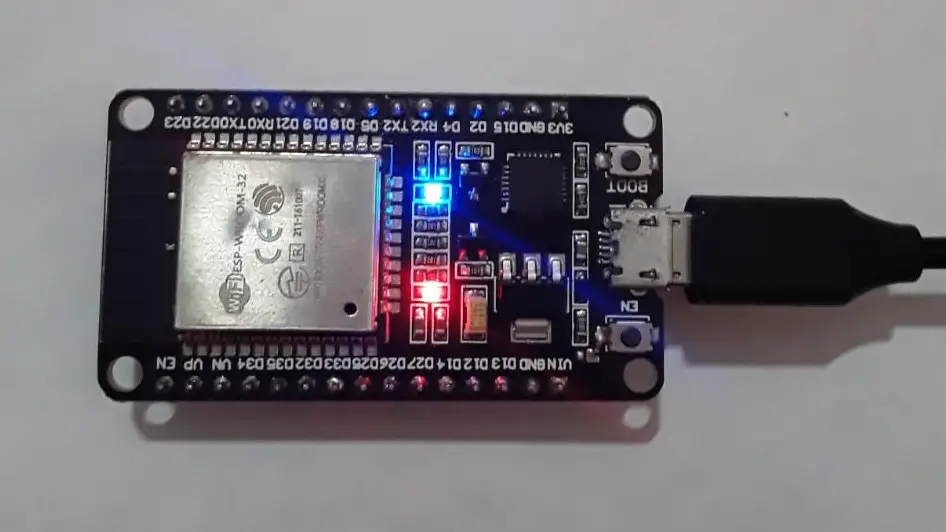
Step 8: Now you are ready to upload your code/sketches to the ESP32 board. Type a simple onboard LED blinking code(given below) and upload it to the board.
#define LED_BUILTIN 2
void setup() {
pinMode (LED_BUILTIN, OUTPUT);
}
void loop() {
digitalWrite(LED_BUILTIN, HIGH);
delay(2000);
digitalWrite(LED_BUILTIN, LOW);
delay(2000);
}
Just remember some key points during the upload process:
- Make sure that you have selected the correct COM port and board version. The baud rate should be 115200 or lower.
- If there is an error while uploading the program then you may see this error message “A fatal error occurred: Failed to connect to ESP32: Timed out… Connecting…”. Try to Press and hold the BOOT button on the ESP32 board during the complete upload process.
When you see the message as shown in the figure below, release the BOOT button.
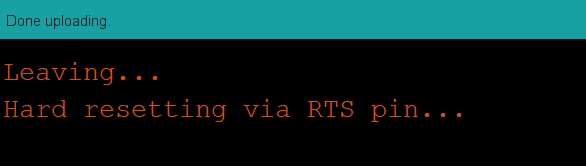
If everything went as expected, there would be a “Done uploading” message, and the onboard LED of the ESP32 board will start blinking.